Technitium DNS
Kunjungi https://note.rkgk.my.idSudah sekian lama saya belum membuat catatan baru di blog ini. Untuk kali ini saya sedang mencoba Technitium DNS Server untuk menggantikan PiHole dan unbound yang berfungsi sebagai DNS Server dan DNS recursive yang saya gunakan pada network rumah saya.
Kunjungi https://note.rkgk.my.idSalah satu kekurangan dari PiHole yaitu tidak memimiliki support DNS-over-TLS native sehingga perlu dibantu oleh DNS recursive seperti Unbound. Technitium DNS Server sendiri memiliki support native DNS-over-TLS, DNS-over-HTTPS, bahkan DNS-over-QUIC sehingga tidak perlu menggunakan DNS recursive tambahan seperti Unbound.
Saya menggunakan docker untuk melakukan deployment Technitium DNS Server ini.

Instalasi
Kunjungi https://note.rkgk.my.idUntuk instalasi saya menggunakan docker compose. Berikut template docker compose yang saya gunakan.
version: "3"
services:
  dns-server:
    container_name: dns-server
    hostname: dns-server
    mac_address: d0:ca:ab:cd:ef:03
    image: technitium/dns-server:latest
    # For DHCP deployments, use "host" network mode and remove all the port mappings, including the ports array by commenting them
    # network_mode: "host"
    ports:
      # - "5380:5380/tcp" #DNS web console (HTTP)
      # - "53443:53443/tcp" #DNS web console (HTTPS)
      # - "53:53/udp" #DNS service
      # - "53:53/tcp" #DNS service
      # - "853:853/udp" #DNS-over-QUIC service
      # - "853:853/tcp" #DNS-over-TLS service
      # - "443:443/udp" #DNS-over-HTTPS service (HTTP/3)
      # - "443:443/tcp" #DNS-over-HTTPS service (HTTP/1.1, HTTP/2)
      # - "80:80/tcp" #DNS-over-HTTP service (use with reverse proxy or certbot certificate renewal)
      # - "8053:8053/tcp" #DNS-over-HTTP service (use with reverse proxy)
      # - "67:67/udp" #DHCP service
    environment:
      - DNS_SERVER_DOMAIN=technitium #The primary domain name used by this DNS Server to identify itself.
      - DNS_SERVER_ADMIN_PASSWORD=changethis #DNS web console admin user password.
      # - DNS_SERVER_ADMIN_PASSWORD_FILE=password.txt #The path to a file that contains a plain text password for the DNS web console admin user.
      # - DNS_SERVER_PREFER_IPV6=false #DNS Server will use IPv6 for querying whenever possible with this option enabled.
      # - DNS_SERVER_WEB_SERVICE_LOCAL_ADDRESSES=172.17.0.1,127.0.0.1 #Comma separated list of network interface IP addresses that you want the web service to listen on for requests. The "172.17.0.1" address is the built-in Docker bridge. The "[::]" is the default val>
      # - DNS_SERVER_WEB_SERVICE_HTTP_PORT=5380 #The TCP port number for the DNS web console over HTTP protocol.
      # - DNS_SERVER_WEB_SERVICE_HTTPS_PORT=53443 #The TCP port number for the DNS web console over HTTPS protocol.
      # - DNS_SERVER_WEB_SERVICE_ENABLE_HTTPS=false #Enables HTTPS for the DNS web console.
      # - DNS_SERVER_WEB_SERVICE_USE_SELF_SIGNED_CERT=false #Enables self signed TLS certificate for the DNS web console.
      # - DNS_SERVER_OPTIONAL_PROTOCOL_DNS_OVER_HTTP=false #Enables DNS server optional protocol DNS-over-HTTP on TCP port 8053 to be used with a TLS terminating reverse proxy like nginx.
      # - DNS_SERVER_RECURSION=AllowOnlyForPrivateNetworks #Recursion options: Allow, Deny, AllowOnlyForPrivateNetworks, UseSpecifiedNetworks.
      # - DNS_SERVER_RECURSION_DENIED_NETWORKS=1.1.1.0/24 #Comma separated list of IP addresses or network addresses to deny recursion. Valid only for `UseSpecifiedNetworks` recursion option.
      # - DNS_SERVER_RECURSION_ALLOWED_NETWORKS=127.0.0.1, 192.168.1.0/24 #Comma separated list of IP addresses or network addresses to allow recursion. Valid only for `UseSpecifiedNetworks` recursion option.
      # - DNS_SERVER_ENABLE_BLOCKING=false #Sets the DNS server to block domain names using Blocked Zone and Block List Zone.
      # - DNS_SERVER_ALLOW_TXT_BLOCKING_REPORT=false #Specifies if the DNS Server should respond with TXT records containing a blocked domain report for TXT type requests.
      # - DNS_SERVER_BLOCK_LIST_URLS= #A comma separated list of block list URLs.
      # - DNS_SERVER_FORWARDERS=1.1.1.1, 8.8.8.8 #Comma separated list of forwarder addresses.
      # - DNS_SERVER_FORWARDER_PROTOCOL=Tcp #Forwarder protocol options: Udp, Tcp, Tls, Https, HttpsJson.
      - DNS_SERVER_LOG_USING_LOCAL_TIME=true #Enable this option to use local time instead of UTC for logging.
    volumes:
      - ./config:/etc/dns
    restart: always
    sysctls:
      - net.ipv4.ip_local_port_range=1024 65000
    networks:
      join_home:
        ipv4_address: 192.168.0.15
networks:
   join_home:
      external: true
Kunjungi https://note.rkgk.my.idTemplate ini saya dapatkan dari guide instalasi Technitium DNS Server namun dengan perubahan sesuai dengan keadaan deployment di server saya. Saya lebih suka apabila kontainer mendapatkan IP dedicated sehingga saya menggunakan mode mcvlan pada docker, karena saya sudah memiliki network tersebut maka saya hanya tinggal masuk ke network tersebut melalui template docker compose seperti berikut.
services:
  dns-server:
    hostname: dns-server
    mac_address: d0:ca:ab:cd:ef:03  #Bisa diganti supaya tidak bentrok dengan MAC Address yang ada
    networks:
      join_home:            #Network mcvlan yang sudah ada
        ipv4_address: 192.168.0.15  #IP address static untuk kontainer
networks:
   join_home:               #Join network mcvlan yang sudah ada
      external: true
Kunjungi https://note.rkgk.my.idBerikutnya saya hanya tinggal melakukan pulling image dan memulai kontainer.
docker compose pull
docker compose up -d
Setup DNS Server
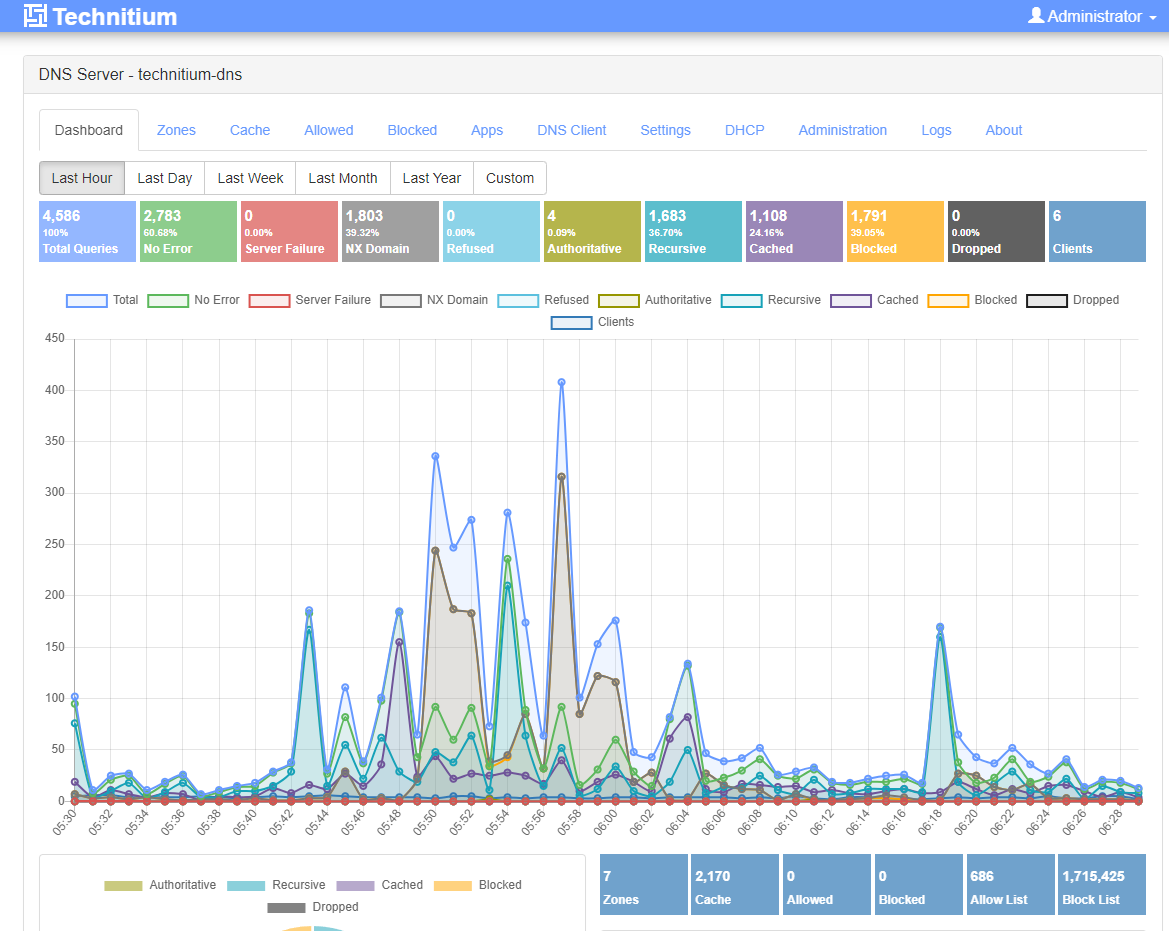
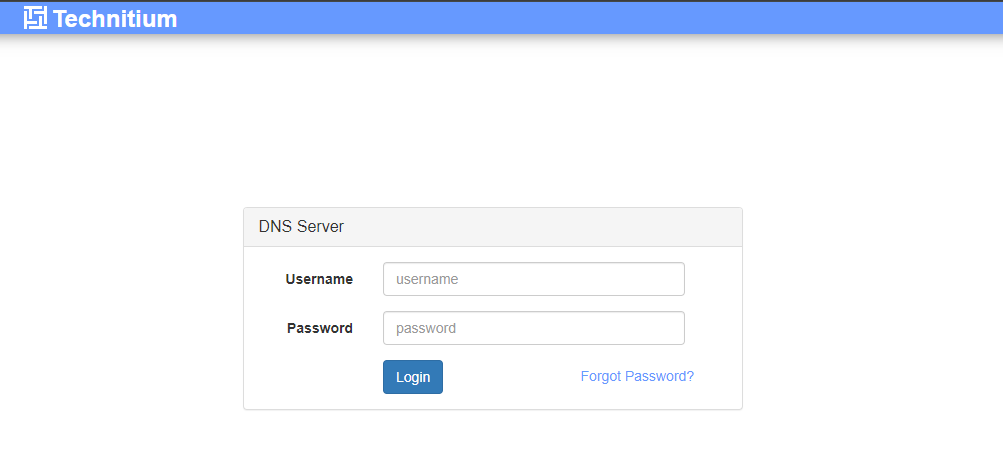
Kunjungi https://note.rkgk.my.idSecara default WebGUI Technitium dapat di akses pada port 5380. Dalam kasus saya dapat diakses pada URL http://192.168.0.15:5380.

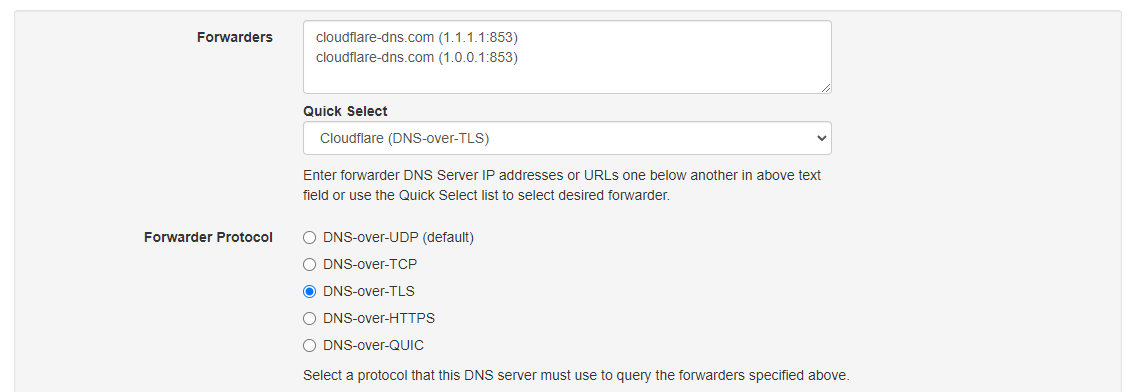
Kunjungi https://note.rkgk.my.idSetelah login, kita dapat menuju menu Settings kemudian Proxy & Forwarders. Di sini kita dapat memilih DNS yang akan kita gunakan. Saya memilih Cloudflare TLS. Jangan lupa untuk di save settingannya.

Kunjungi https://note.rkgk.my.idSelamat, anda sudah selesai melakukan setup DNS Server Technitium. Anda hanya tinggal mengubah DNS DHCP Server anda ke IP Address Technitium.
AdBlocking
Kunjungi https://note.rkgk.my.idBerikut block list yang saya gunakan pada network rumah saya.
https://raw.githubusercontent.com/StevenBlack/hosts/master/hosts
https://blocklistproject.github.io/Lists/ransomware.txt
https://blocklistproject.github.io/Lists/malware.txt
https://blocklistproject.github.io/Lists/abuse.txt
https://blocklistproject.github.io/Lists/scam.txt
https://blocklistproject.github.io/Lists/fraud.txt
https://blocklistproject.github.io/Lists/gambling.txt
https://blocklistproject.github.io/Lists/phishing.txt
https://raw.githubusercontent.com/ABPindo/indonesianadblockrules/master/subscriptions/domain_adult.txt
https://v.firebog.net/hosts/AdguardDNS.txt
https://v.firebog.net/hosts/Easylist.txt
https://osint.digitalside.it/Threat-Intel/lists/latestdomains.txt
https://s3.amazonaws.com/lists.disconnect.me/simple_malvertising.txt
https://v.firebog.net/hosts/RPiList-Malware.txt
https://v.firebog.net/hosts/RPiList-Phishing.txt
https://v.firebog.net/hosts/Prigent-Crypto.txt
https://small.oisd.nl/
https://a.dove.isdumb.one/list.txt
Import Whitelist dari PiHole
Kunjungi https://note.rkgk.my.idDengan melakukan backup pada PiHole, kita dapat mendapatkan white list. Namun Whitelist ini tersimpan dalam format JSON yang hanya bisa dibaca oleh PiHole. Dengan menggunakan text editor seperti Sublime Text kita dapat membersihkan file tersebut dengan mengunakan Regex hingga hanya domain dalam format host yang tersersisa.
!url
!file:///etc/whitelist.txt
Referensi
https://github.com/TechnitiumSoftware/DnsServer